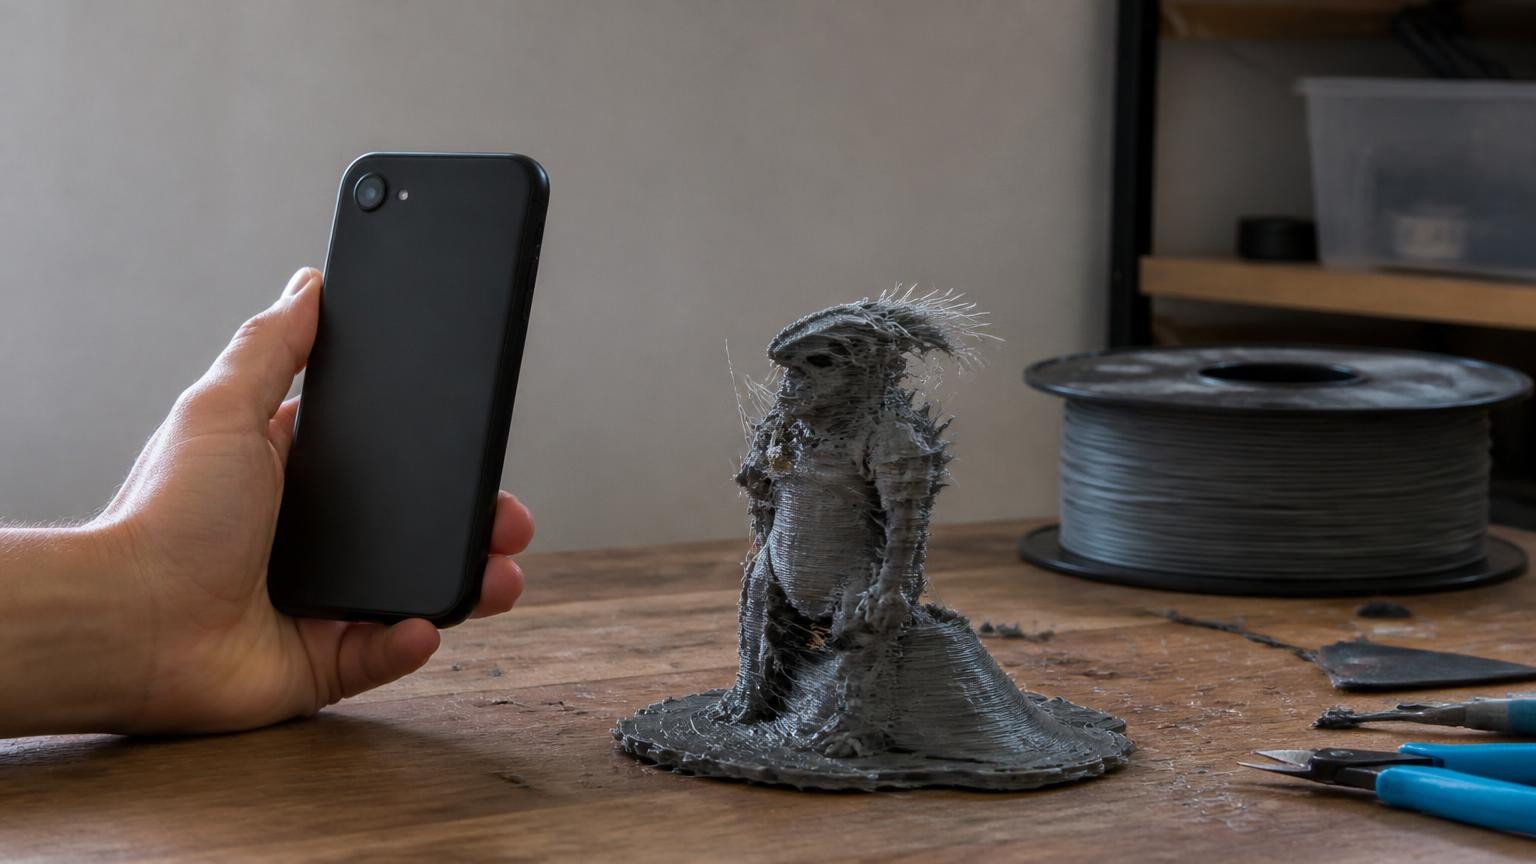
Most problems come from the mesh, not the printer: a phone scan is a captured surface with holes, noise, no flat base and limited accuracy, so the slicer may refuse it or patch it wrongly, thin details vanish and the print can come out the wrong size. The fix is to close and check the mesh, confirm its scale against a real measurement, give it a flat base and orient it for overhangs before you slice.
A CAD part is designed as a closed solid with exact dimensions; a scan records only what the camera and depth sensor saw from the angles you walked around. Every failure below follows from that difference.
Why does the slicer reject the scan or fill it in wrongly?
Because the mesh is not a closed solid. Prusa's guide to modeling with 3D printing in mind states that a model to be printed must be solid, with "manifold geometry", and that a part with holes in its surface cannot be sliced. Blender's 3D Print Toolbox documentation gives the test in one line: every edge should connect to exactly two faces, and an edge that touches only one face means there is a hole.
Phone scans break that rule in predictable places:
- The underside. The face the object stood on was never seen, so the scan ends in an open rim.
- Recesses and undercuts. The inside of a handle or the gap under a chin comes out as holes or thin webs.
- Shiny, dark or transparent patches. Depth readings often fail there and leave gaps or spikes.
- Leftovers. Pieces of the table or background stay attached as floating fragments.
- Flipped faces. Triangles that point inward confuse the slicer about which side of the surface is inside.
Slicers try to guess. UltiMaker's page on mesh fixes settings says model faults "are often shown as red areas in the X-ray view" and describes an "Extensive stitching" option that closes holes in the shell so the model can be sliced. The catch is that an automatic fix does not know your object. A large hole may be bridged with a flat patch, and an opening you wanted may be closed.
Repair the mesh yourself where it matters: delete the fragments, fill the holes deliberately, and run Make Manifold from Blender's 3D Print Toolbox, which the same Blender page says attempts to fix bad normals, fill holes and remove empty edges and faces. Our guide on fixing holes and cleaning up a 3D scan walks through those steps.
Why does the printed copy come out the wrong size?
There are two separate causes, and they need different fixes.
The first is units. The Library of Congress format record describes STL as a format for describing the surface of an object as a triangular mesh, stored as the coordinates of each triangle's corners. If the app wrote those coordinates in centimeters, inches or meters and the slicer reads them as millimeters, the model arrives far too small; the other way round, it arrives far too large. The quick diagnosis is to compare the size the slicer reports with a tape-measure reading of the real object. A ratio of 10, 25.4 or 1,000 points to a unit mismatch, not a bad scan. Scale by that factor, or use Blender's Scale To Bounds, which the toolbox documentation describes as scaling the model so its largest dimension matches a value you enter.
The second cause is the scan's own error. A study of Apple's LiDAR sensor in the iPhone 12 Pro, published in Scientific Reports on 15 November 2021, reported an absolute accuracy of ±1 cm for objects with a side longer than 10 cm, and found that precision decreases for surfaces under 10 cm. That is fine for a decorative copy of a vase, but not for anything that must fit: Prusa's guide says an Original Prusa printer is accurate to at least 0.2 mm and suggests at least 0.3 mm of clearance as a starting point for movable parts. When the scan error is many times larger than the printer error, the scan decides whether the part fits.
Can a printed scan fit together with a real part?
Rarely straight from the scan. A replacement knob or bracket must meet a real surface, and the features that decide the fit, such as holes, slots and mounting points, are usually far smaller than 10 cm, the size below which the LiDAR study found precision drops.
A safer workflow treats the scan as a reference, not as the finished part:
- Measure the critical dimensions with calipers: hole diameters, the distance between mounting points, the width of a slot.
- Scale the whole scan so one well-defined dimension matches your measurement.
- Rebuild the mating features as clean CAD geometry and keep the scanned surface only where its shape matters.
- Add the clearance your printer needs; Prusa's 0.3 mm starting value for movable parts is a reasonable first test.
- Print only the critical section first and test the fit.
For a small part there is one shortcut to try before you rebuild anything by hand. MagiScan 2.0 has a print-ready mode: scan a part such as a clip, a knob or a bracket, and you get a CAD model with dimensions and an STL file for your slicer instead of a raw mesh. It does not use LiDAR, so real size needs a reference object of known size in the frame; without one, treat the dimensions as an estimate. The App Store notes for version 2.0 call the new mode experimental, neither they nor the site gives an accuracy figure, and as of 5 November 2026 the Google Play listing does not mention it, so on Android check that your version has it. Steps 1 and 5 above still apply: measure with calipers and print the critical section before you trust the fit.
For more on getting usable numbers out of a scan, see how to get accurate measurements from a 3D scan.
Why do thin parts and fine details disappear?
Because both the printer and the scan have a minimum feature size. Prusa's guide is direct: walls thinner than one nozzle perimeter are not printable, and with a 0.4 mm nozzle one perimeter is roughly 0.45 mm wide. The Blender toolbox flags very thin geometry for the same reason, warning that the slicer might miss such faces entirely.
Scans make this worse in three ways. First, the depth sensor has a floor: the same LiDAR study put the limit of detection for objects at around five centimeters, so depth data alone will not capture an earring. Second, a thin structure such as a leaf or an ear can come out as a single sheet or as two surfaces that almost touch, which leaves the slicer close to zero thickness to work with. Third, scaling down shrinks everything: print a figurine at half size and its thin parts become half as thick, which can push them under one perimeter.
The fixes are to thicken thin regions with a solidify or offset operation, print larger, switch to a smaller nozzle, or accept that the detail was never in the scan. For small objects, capture technique matters more than later repair; our guide on scanning tiny details like jewelry with a phone covers how to approach them.
Why does the print tip over or need so many supports?
A scan has no designed base. The bottom is either missing or a lumpy patch that a hole-filling step invented, so the model touches the bed at a few points and can tip or come loose. Prusa's guide notes that a surface printed directly on the print bed comes out perfectly flat and smooth; a scan rarely offers such a surface until you make one. Cut the bottom off along a plane, with the slicer's cut tool or in a mesh editor, so the model sits on a flat face, and make that cut before you scale so the cut does not change the dimension you scaled to.
Organic shapes also bring overhangs: noses, chins, ears, the brim of a hat. The Blender toolbox page puts the problem plainly: printers cannot print in mid-air, so overhanging parts will not print correctly unless the slicer adds support material. Prusa gives a working range: a printer can cleanly print overhangs at an angle between 45 and 60 degrees, depending on the nozzle and settings. Beyond that, plan for supports, and expect the surface printed above them to look rougher than a side wall or a top surface, as the same guide warns. Rotate the model so the faces you care about point up or sideways, or split it into parts that each print with little or no support.
Why does the print look rougher than the scan did on the phone?
Much of what makes a scan look convincing on screen is the photo texture laid over the mesh. The print gets only the geometry. The Library of Congress record notes that there is no standard support within STL for colors or textures, so a single-material print from an STL shows the bare surface, with every bump of sensor noise that the texture used to hide.
Before exporting, switch the viewer to show the untextured mesh and judge the shape you will actually print. Smooth noisy areas lightly and leave alone the edges you want to stay sharp. Very dense meshes make files heavy and slicing slow without adding detail the nozzle can reproduce, so reduce the triangle count until the shape just starts to change, then step back. A blurry capture produces soft geometry that smoothing will not sharpen; rescan it instead.
How do you check a phone scan before you press print?
A short routine catches most of the problems above:
- Scan for printing, not for viewing. Cover all sides, including low angles. Use an app that exports a printable mesh; MagiScan, for example, turns an iPhone or Android phone into a 3D scanner and exports scans for 3D printing. Our guide on exporting a 3D scan to STL, OBJ or USDZ explains the formats.
- Clean. Delete floating fragments and the surface the object stood on.
- Make it solid. Run a manifold check, fill the holes and fix flipped faces.
- Check the size. Compare one dimension with a real measurement and correct the scale.
- Make a base and orient. Cut a flat bottom, then rotate to keep steep overhangs off visible faces.
- Check thickness. Look for walls thinner than one perimeter at the final print size.
- Read the slicer preview. Step through the layers: gaps in the shell or infill, or red areas in Cura's X-ray view, mean the mesh still has faults.
- Print a test. For anything that must fit, print the critical section first.
None of these failures means a phone scan is the wrong tool. They mean a scan is raw material: a captured surface that needs the preparation any mesh gets before printing. Capture all sides, repair and measure the mesh, give it a base, and a scan made with MagiScan or a similar app becomes a printable model; keep CAD for the faces that must fit to a fraction of a millimeter.
Frequently Asked Questions
Why does my slicer say the scanned model has errors?
Usually because the scan is not a closed solid: it has holes where the camera could not see, flipped faces or floating fragments. Repair it in a mesh editor with a manifold check before slicing, rather than relying only on the slicer's automatic fix, which can close openings you wanted or bridge gaps with flat patches.
How accurate is a 3D print made from a phone scan?
The print can be no more accurate than the scan. A 2021 study of the iPhone 12 Pro LiDAR reported ±1 cm absolute accuracy on objects with a side over 10 cm, far coarser than the 0.2 mm accuracy Prusa states for its Original Prusa printers, so measure critical dimensions by hand and correct the model before printing parts that must fit.
Why did my print lose the color of the scan?
An STL file has no standard support for color or texture, and a single-material print reproduces only the shape, in the color of the filament. The photo texture that made the scan look realistic on screen is dropped, and with it the visual cover for small bumps in the surface.
Do I need supports when printing a scanned figure?
Often yes, because organic shapes have overhangs such as chins, noses and outstretched arms. Prusa's guidance is that printers cleanly handle overhangs between 45 and 60 degrees, so orient the model to keep steeper overhangs off visible faces, or split it into parts that print with less support.