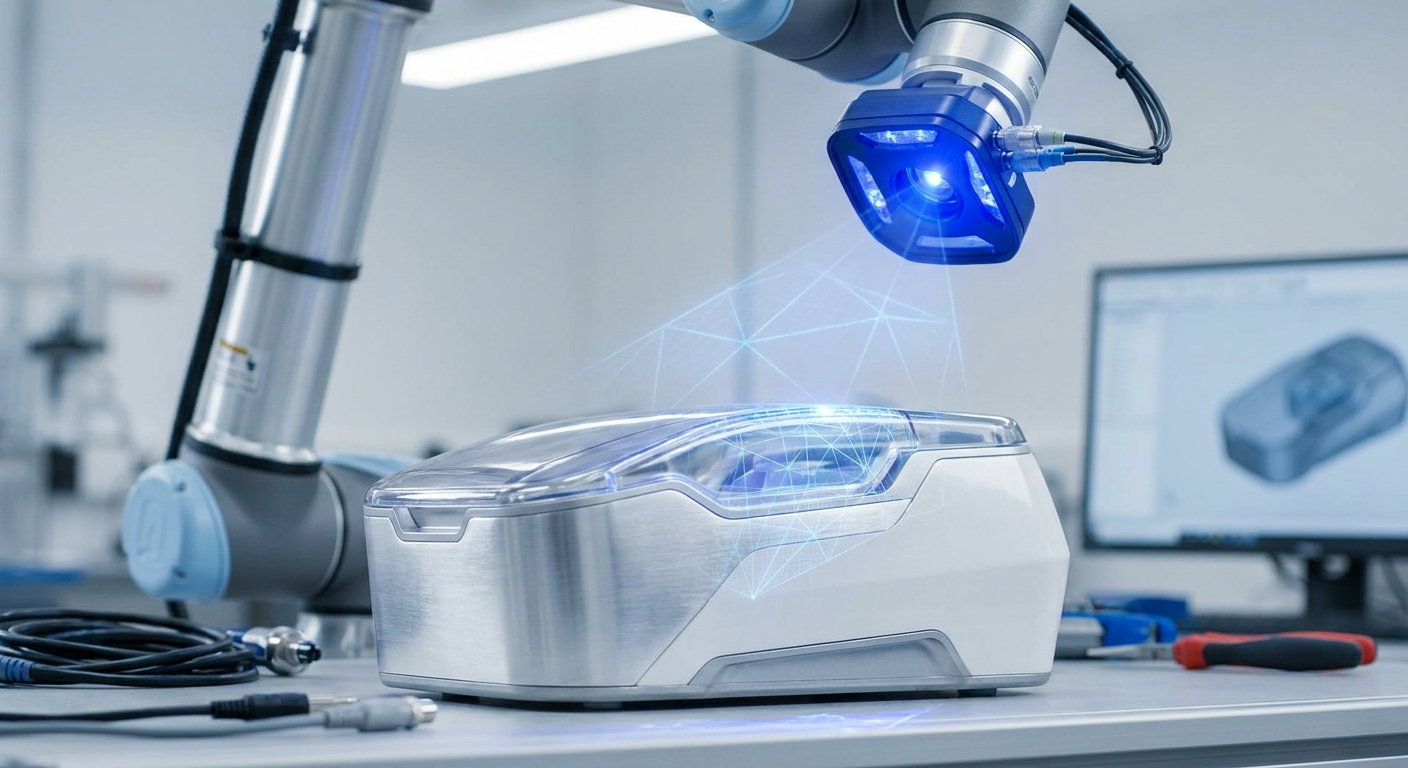
Use 3D scanning to capture the geometry your device has to fit, such as a residual limb, a face, a foot or an existing device. Bring that mesh into CAD as the reference you design against, then scan each printed prototype to check it. Match the scanner to the tolerance of the stage you are in. A phone scan is often enough for early fit and form work. Final dimensions, and anything that will reach a patient, need a verified scanner, a documented protocol and the testing that applies to the finished device.
The rest of this page covers the practical side: which scanner to use at which stage, how to get a clean scan of skin or shiny metal, how to check accuracy yourself, what to export, and where regulation starts to shape the workflow.
Where does a scan fit in the prototyping loop?
In device development a scanner does three separate jobs, and mixing them up causes most of the confusion.
Capturing anatomy. For anything worn on or fitted to the outside of the body, such as orthoses, prosthetic sockets, splints, masks and hearing device shells, the scan is the starting geometry. The FDA notes that 3D printing lets manufacturers create patient-specific devices matched to a patient's anatomy. For external-fit devices, a surface scan is usually how you get that anatomy into the computer.
Reverse engineering. Legacy instruments with lost CAD files, a handle you want to redesign around an existing mechanism, or a fixture that must mate with a device you did not design. You scan the part, take the critical dimensions and mating surfaces off the mesh, and rebuild clean geometry in CAD.
Checking prototypes. Print the part, scan it, and overlay the scan on the design. You can see warping, shrinkage or a socket that came out tight on one side, and you can measure the deviation instead of guessing from a test fitting.
A surface scanner only captures surfaces. If your device has to match bone, as a custom implant or a cutting guide does, that geometry comes from CT or MRI, not from a handheld or phone scanner pointed at the patient.
Phone app, dedicated scanner or medical imaging: which do I use?
Pick by the job and the tolerance, not by the price of the hardware. Many teams use more than one.
| Option | What it captures | Where it fits in prototyping | Limits to plan around |
|---|---|---|---|
| Phone scanning app (for example MagiScan) | External surfaces and dimensions of body parts, products and parts | Concept work, early fit and form checks, quick scans in clinic or workshop, exporting a mesh for a first print | Accuracy depends on phone, lighting and technique; verify against known dimensions before relying on it |
| Dedicated handheld or desktop scanner (structured light or laser) | External surfaces with finer detail on small parts | Reverse engineering, inspecting printed prototypes, fine features on instruments | Cost, training, and still struggles with shiny, dark or transparent surfaces without preparation |
| CT or MRI | Internal anatomy, including bone and soft tissue | Implants, surgical guides, anything that must match internal structures | Clinical imaging pathway, segmentation step before you get a usable mesh |
If you are unsure whether your early-stage work needs dedicated hardware, Do I Need a 3D Scanner or Is a Phone App Enough? walks through that decision, and LiDAR vs. Photogrammetry explains why the two capture methods behave differently on small, detailed objects.
How do I get a clean scan of a body part or a device?
Most unusable scans are lost at capture, not in software. Different subjects fail in different ways.
Scanning anatomy
- Fix the posture first. A foot scanned weight-bearing and one scanned hanging off a chair are different shapes. Decide which position your device is designed for, write it down, and use it every time.
- Mark landmarks. A skin-safe pen on bony landmarks gives you reference points in the mesh for trim lines and measurements.
- Scan fast and in one sweep. People breathe, sway and twitch. Long, hesitant passes create double surfaces where the body moved between frames.
- Use a protocol. EN ISO 20685-1:2018 sets out a 3D scanning protocol for body dimensions and applies to medical and rehabilitation device sizing. Even if you do not follow it to the letter, it is a good model for how to define posture, landmarks and measurement method.
- Treat scans as patient data. A body scan of a named patient is health information. Store and share it under the same rules you apply to other clinical records.
For the capture step itself, MagiScan turns an iPhone or Android phone into a 3D scanner and measuring tool, so a clinician or designer can scan a limb, check a few dimensions on the model and export it for a first print without booking scanner time.
Scanning devices and parts
- Shiny and dark surfaces scatter or absorb light and come out as holes or noise. A thin coat of matte scanning spray on the part fixes most of this. Never spray a patient.
- Transparent plastics need the same treatment, or a scan of a matte replica.
- Undercuts and deep features leave holes because the sensor never sees them. Scan the part in two orientations and merge, rather than trying to fill a large hole later.
- Small parts scan better on a turntable with a textured background that the software can track.
How accurate is accurate enough, and how do I prove it?
Start from the function, not the scanner. A cosmetic cover tolerates more error than a socket interface, and a socket tolerates more than the bore an instrument shaft slides into. Write the tolerance for each critical feature before you choose how to capture it.
Accuracy figures on spec sheets are only comparable if they were measured the same way. ISO 10360-8 is the part of the ISO 10360 series that defines how 3D scanner accuracy is tested, so when you compare dedicated scanners, ask whether the quoted numbers follow it.
Then check your own setup, because your lighting, your operator and your subject are not the vendor's:
- Scan an object of known size that resembles your subject in size and surface, such as a machined block or a gauge.
- Measure the same features on the scan and with calipers.
- Repeat the scan several times and see how much the results move between attempts.
- Check the units. A mesh exported in metres and imported as millimetres is the most common accuracy problem, and it has nothing to do with the scanner.
If the deviation is inside your tolerance for that feature, the method is good enough for that stage. If not, change the method or the hardware. How to Get Accurate Measurements from a 3D Scan covers this testing routine in more detail.
What format should I export, and how do I get it into CAD?
The export depends on where the file goes next.
- STL is the default for 3D printing. It holds geometry only, with no colour or units, so agree on units with whoever prints it.
- OBJ carries texture as well, which helps when skin markings or landmark dots need to stay visible in the design software.
- PLY is common for point and colour data and for handing a scan to inspection software.
A scan is a mesh of triangles, not a CAD solid. You have two practical routes. Use the mesh as a reference body and model your device around it, which suits orthoses and sockets where you offset and thicken surfaces from the anatomy. Or rebuild clean surfaces over the mesh, which suits reverse-engineered parts that need proper dimensions and tolerances.
Before either route, clean the mesh: remove the floor, table and stray points, fill small holes, check that the model is watertight if it will be printed directly, and reduce the triangle count if the file is too heavy for your CAD package. Keep the raw scan untouched alongside the cleaned version so you can go back to it. Personalized Prosthetics 3D Scanning shows how this scan-to-design step works for socket fitting.
When does a prototype need regulatory-grade process control?
A concept model on the bench is not regulated. A device that will be used on patients is, and the further your prototype moves towards that, the more your scanning and printing steps need to be documented and repeatable.
For devices with at least one additively manufactured component, the FDA's final guidance Technical Considerations for Additive Manufactured Medical Devices, issued in December 2017 under Docket FDA-2016-D-1210, sets out technical considerations for the process and recommendations for testing and characterisation. If you print in metal, FDA's recognised standards database lists ASTM F3604-23 as an overview of process validation, including machine qualification and IQ/OQ/PQ, for devices made by laser powder bed fusion.
What this means for scanning in practice:
- From the point a design is heading to patients, record which scanner, software version, settings, operator and protocol produced each scan.
- Keep the raw scan, the cleaned mesh and the final CAD as linked versions, so anyone can trace a device back to the geometry it came from.
- Do not let a quick concept-stage scan quietly become the basis of a final design. Re-capture with the verified method when you lock the design.
- Talk to your regulatory lead early about which records they need. This page explains the workflow, not your legal obligations.
The short version: scan the anatomy or part, design against the mesh, print, and scan again to check fit. Use a phone app such as MagiScan where speed and access matter in early iterations, step up to dedicated scanners or medical imaging where the tolerance or the anatomy demands it, and document everything once the design is heading for a patient.
Frequently Asked Questions
Does 3D scanning actually make medical device prototyping faster?
It removes steps rather than speeding them up. One scan replaces plaster casting or repeated manual measurements, the same file feeds every design iteration, and scanning a printed prototype shows exactly where it is off instead of relying on trial fittings. How much time you save depends on how many iterations your device normally takes.
Can a 3D scanner capture bone for a custom implant or surgical guide?
No. Optical and LiDAR scanners capture only the outer surface they can see, so skin and clothing, not bone. Implants and guides that must match internal anatomy are designed from CT or MRI data, sometimes combined with a surface scan for external features.
Is a smartphone scan accurate enough for orthotics or prosthetic sockets?
It can be good enough for early fit and form work, but you should prove it rather than assume it. Scan an object of known size under the same conditions, compare the measurements with calipers, and check repeatability across several scans. If the deviation sits inside your tolerance for the critical features, use it for that stage.
What file format do I export from a scan for 3D printing a prototype?
STL is the most widely accepted format for printing and holds geometry only. Use OBJ if you need texture such as landmark markings, and PLY for point and colour data going into inspection software. Whatever you choose, confirm the units and make sure the mesh is watertight before sending it to print.