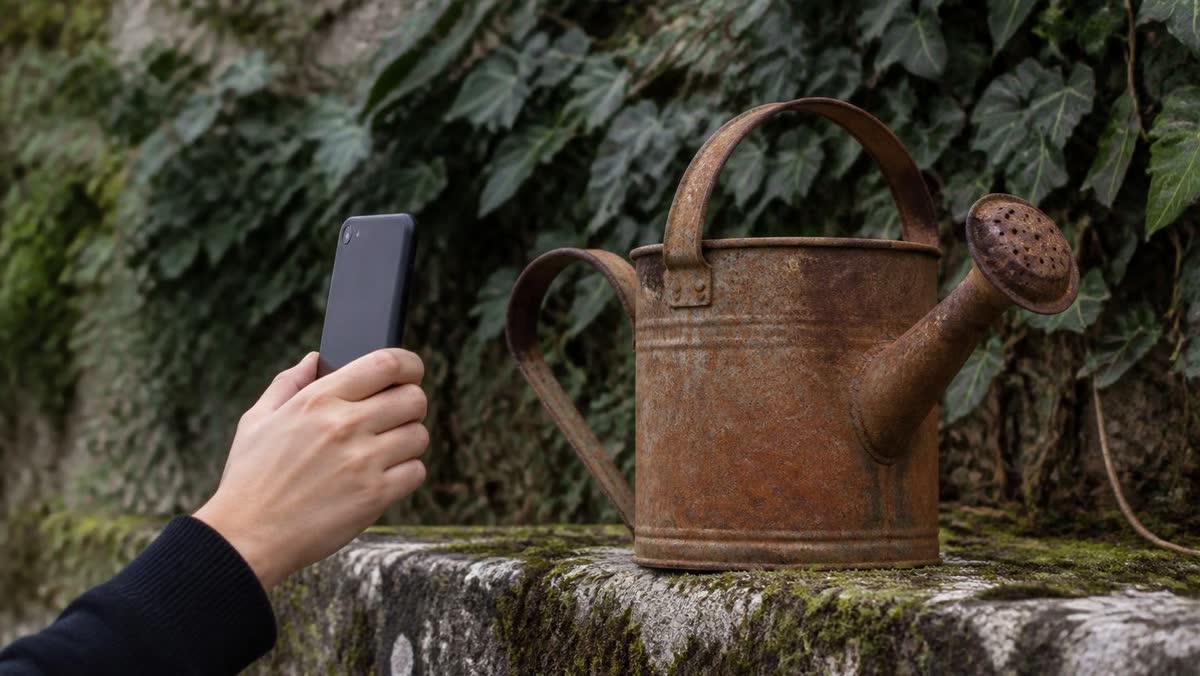
A phone camera builds a 3D model by taking many overlapping views of an object from different positions, finding the same surface points in several of them, and using how those points shift between views to work out where the camera stood and how far away each point is. No laser or depth sensor is needed, because the depth comes from the camera's own movement, which is also why the result depends so much on how you move, the light, and the surface in front of you.
The principle is the one your eyes use. Close one eye, move your head sideways, and near objects slide across the background faster than far ones. A scanning app measures that slide precisely, for every point it can recognise, across every view you give it.
What happens between your photos and the 3D model?
Classic photogrammetry, whether it runs on a desktop or behind a phone app, follows a two-step pipeline that the open-source tool COLMAP documents in detail.
The first step is structure from motion. The COLMAP tutorial describes it in three stages: the software finds sparse feature points in each image and describes their appearance with a numerical descriptor, then finds correspondences between those points in different images and checks them geometrically, and finally grows the scene by registering new images and triangulating new points. The output is a sparse cloud of points plus the position and orientation of the camera for every photo. Nothing in that step needs a sensor beyond the camera: the camera positions are solved from the images themselves.
The second step is multi-view stereo. With the camera positions known, the software computes depth for every pixel in an image, and fusing the depth maps of many images produces a dense point cloud, as the same COLMAP documentation explains. A meshing step then turns that cloud into a surface, and the colours from your photos are projected back onto it as a texture.
Two consequences follow directly. The software can only reconstruct what it can match, so a surface with no visible detail gives it nothing to work with. And every point must be seen from more than one position, so standing still and turning the phone gives the algorithm no parallax to measure.
How does the phone know where it was for each shot?
There are two ways. A photo-based workflow, like the one above, works it out afterwards from the photos. Live AR capture tracks the phone while you move it.
Google's ARCore fundamentals page (updated on 31 October 2024) describes how that tracking works: the phone runs simultaneous localization and mapping (SLAM), detects visually distinct feature points in the camera image, and combines that visual information with inertial measurements from the device's IMU to estimate the camera's position and orientation over time. The IMU is the set of motion sensors built into the phone, such as the accelerometer and gyroscope, so this still counts as no special hardware.
The same idea can produce depth live. The ARCore Depth API documentation (updated on 4 September 2026) says it uses a depth-from-motion algorithm that takes multiple device images from different angles and compares them to estimate the distance to every pixel as you move the phone. Google gives a range of 0 to 65 metres, with the most accurate results when the phone is between about half a metre and five metres from the scene. If a phone does have a time-of-flight sensor, the algorithm merges that data in, but the camera alone is enough to get depth.
For live capture, that means working from arm's length to a few steps away rather than from across a room. For photo capture, Apple's Object Capture guide, covered below, gives the equivalent rule: position the object so it fills as much of the frame as possible without cutting any part off.
Where do NeRF and Gaussian splatting fit in?
Neural radiance fields (NeRF) and 3D Gaussian splatting are newer ways to represent the result, not a different way to capture it. Both work from a scene captured with multiple photos or video and the camera positions solved from them.
The 3D Gaussian Splatting project page at Inria states that the method starts from the sparse points produced during camera calibration, represents the scene with 3D Gaussians, and reaches real-time rendering at 100 frames per second or more at 1080p resolution. The paper was presented at SIGGRAPH 2023. Instead of a hard surface, you get a cloud of soft, coloured blobs that can look photographic from new angles.
The trade-off is practical. A splat looks right on screen, but it is not a watertight mesh you can send to a 3D printer or measure edge to edge without converting it first. For measuring, packing or printing, a meshed photogrammetry result is still what you want.
What does a camera-only scan need from you?
Because depth comes from matching, the capture rules are all about giving the matcher good material. Apple's guide to capturing photographs for RealityKit Object Capture is one of the clearest official write-ups, and most of its advice carries over to other photogrammetry tools.
- Overlap. Apple asks for 70% overlap or more between sequential images and warns that anything under 50% between neighbouring shots may make the process fail or produce a low-quality model. COLMAP's rule is that each object should be seen in at least 3 images, and more is better. For what that means in shot counts, see how many photos you need for a good photogrammetry scan.
- Move, do not pivot. COLMAP advises against taking images from the same spot while only rotating the camera; take a few steps between shots. Circle the object at several heights instead of sweeping from one place.
- Texture. COLMAP warns against completely texture-less images, such as a white wall or an empty desk. Apple advises avoiding objects that are very thin in one dimension, highly reflective, transparent or translucent, and notes that single-colour or very smooth surfaces may not give the algorithm enough data. You can draw or paint on a surface to give it detail; our guide to scanning shiny, black or transparent objects covers the other options.
- Soft, even light. Hard light from a flash, direct sun or a bare bulb casts hard shadows that confuse the algorithm, so Apple recommends bouncing or diffusing it. Outdoors, keep the sun out of the frame or shoot on an overcast day.
- Locked settings. Keep focal length, aperture, shutter speed and ISO the same from shot to shot. On an iPhone or iPad, long-press the camera preview until "AE/AF Lock" appears.
- A still subject. The object must not bend or change shape between shots. You can move a rigid object between shots to photograph all sides, but a soft or articulated one that changes shape can break the matching.
This is the step where the app matters. With a scanning app such as MagiScan, which turns an iPhone or Android phone into a 3D scanner and measuring tool, you do not run a reconstruction pipeline yourself, so your part is the capture: coverage, texture and light.
Why does a camera-only scan come out the wrong size?
Photos alone carry no scale. A toy car shot from close up and a real car shot from across the street can produce the same set of images, so pure photogrammetry recovers shape and proportions but not absolute size.
Apple's capture guide says this plainly: if the source images contain depth data, RealityKit uses it to calculate the real-world size of the object; without depth data it can still build the model, but you may have to scale it yourself. Live AR tracking is the other anchor: ARCore combines the camera with the IMU's inertial measurements, and its Depth API associates each pixel with how far the scene is from the camera.
For a set of photos with neither, the fix is a reference. Put a ruler, a printed scale bar or an object of known size in the scene, measure it in the model, and rescale the whole scan by the ratio. The step-by-step version is in how to scale a 3D scan to real-world size. Check the scale before you trust any measurement taken from a scan.
Is the camera alone enough, or do you need LiDAR?
Each camera-only approach has a different output and a different weak spot:
| Approach | What it uses | What you get | Where it struggles |
|---|---|---|---|
| Photogrammetry (structure from motion plus multi-view stereo) | Overlapping photos from any camera | A textured mesh; real-world size needs depth data or a reference | Texture-less, reflective, transparent or moving subjects |
| Live depth-from-motion (ARCore Depth API) | The camera plus the IMU while you move | A distance for every pixel, most accurate at about 0.5 to 5 m | Only on devices with enough processing power, and the app must enable it |
| 3D Gaussian splatting | The same photos and solved camera poses | A photo-real scene that renders in real time | Not a watertight mesh for printing or measuring without conversion |
For most objects you can walk around, from a shoe to a chair, a phone camera is enough as long as the surface shows some detail and the light is even. A depth sensor helps where matching struggles: Google's Depth API page says a sensor such as time-of-flight gives better depth on surfaces with few or no features, such as white walls, and depth even when the camera is not moving. Depth data also gives real-world size without a reference. Neither the sensor nor depth data is a requirement. On iPhone or Android, MagiScan needs only the phone's camera for a camera scan, so a phone without a depth sensor is not a dead end. Its Room Plan and Point Cloud modes are the exception: they need an iPhone with LiDAR. For iPhones without LiDAR specifically, see how to 3D scan without LiDAR on an iPhone.
The short version: the camera supplies the images, the motion between them supplies the depth, and your capture habits decide the quality. Get the overlap, texture, light and scale right before you rely on a phone scan; when it needs to leave the phone, MagiScan exports scans for 3D printing, AR and e-commerce.
Frequently Asked Questions
Do I need a LiDAR iPhone to make a 3D scan?
No. Photogrammetry and depth-from-motion both work from an ordinary camera, and Apple's Object Capture accepts images from any digital camera, including an iPhone, iPad, DSLR or drone. A depth sensor mainly helps with real-world size and with surfaces that show little detail.
How many photos does a phone photogrammetry scan need?
There is no fixed number, because it depends on the size and complexity of the object. What matters is overlap: Apple recommends 70% or more between neighbouring shots, and COLMAP advises that each object is seen in at least 3 images, with more being better.
Why does my phone scan have holes on shiny or dark parts?
The software builds depth by matching the same detail across photos, and reflections move with your viewpoint while dark or plain areas show no detail to match. Diffuse the light, draw or paint on the surface where that is acceptable, and take extra close shots of the problem area.
Can I take accurate measurements from a camera-only scan?
Yes, once the scan has the correct scale. Without depth data the model's proportions are right but its size is arbitrary, so add an object of known length to the scene and rescale before you measure anything.